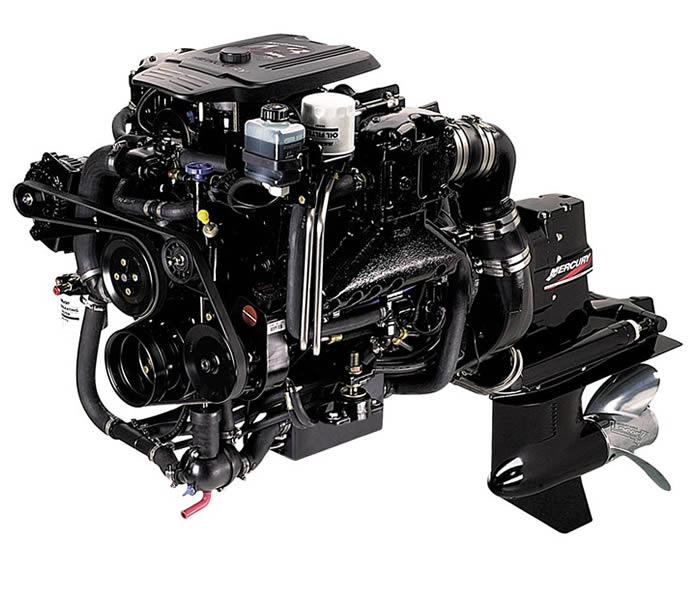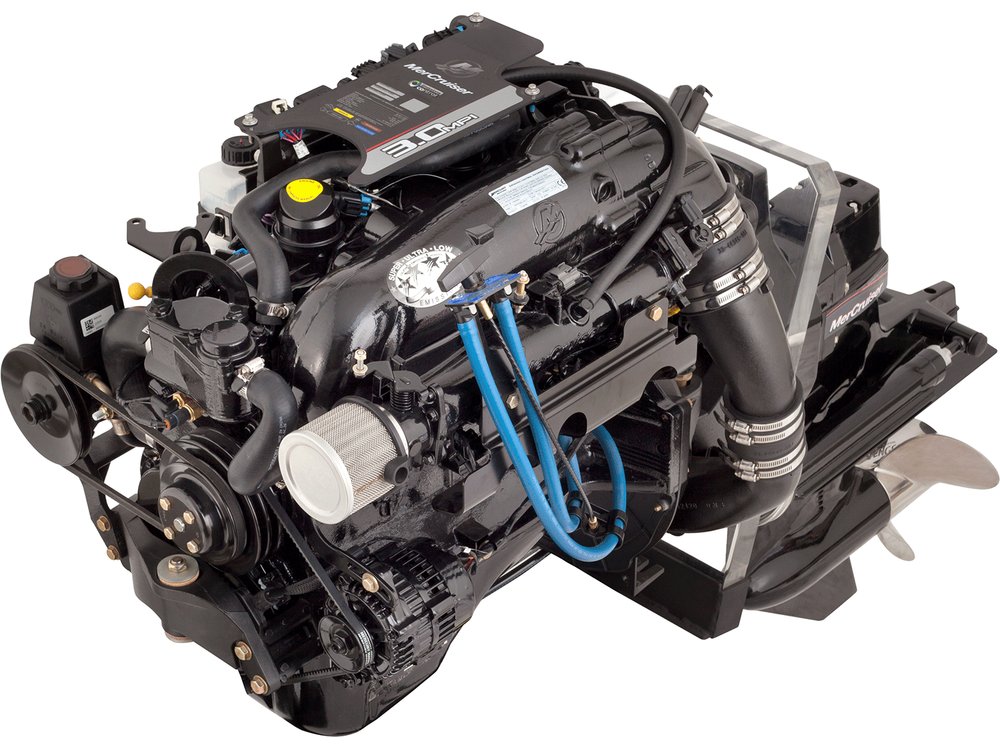
A MerCruiser engine service manual is a handbook that describes the servicing procedures, maintenance and overhaul of the motors main components. The service manual, also referred to as a repair manual, shop manual or workshop manual, covers every aspect of repair.
The following manual covers the MerCruiser models, including the 1985 1986 1987 1988 years.
Models covered in the MerCruiser service manual #9
- MCM 33- B/W (454 CID) – TR, TRS II SSM
- MCM 230 5.0l (305 CID) – Alpha One
- MCM 454 Magnum SRX 7.4 Liter (454 CID) Bravo One
- MCM 400 (1986 454 CID) – TRS, IISSM, IIISSM
- MCM 260 TR (350 CID) – TR
- MIE 340 7.4L (454 CID) – Borg Warner
- MCM 300 Tempest (1986) (350 CID) – TRS IISSM
- MCM 200 5.0l (305 CID) – Alpha One
- MCM 454 Magnum SRX 7.4l (454 CID) – Alpha One
- MCM 420 (1986 420 Horsepower 454 CID) – TRS, IISSM, IIISSM
- MIE 230 5.0L (305 CID) – Borg Warner
- 5.7 Ski Litre Comp. Ski (350 CID)
- MCM 454 Magnum SRX 7.4l-H (454 CID) – Bravo One, TR
- MCM 575 (575 HP 540 CID) – IISSM, IVSSM
- MCM 460 (1986 482 CID) – IIISSM, IV SSM
- MCM 260 5.7l (350 CID) – Alpha One, TR
- MCM 440 (1986 454 CID) – IIISSM, IVSSM
- MCM 230 TR (305 CID) – TR
- MCM 370 TRS (454 CID) – TRS IISSM
- MCM 350 Magnum SRX 5.7 Liter (350 CID) Alpha One
- MIE 260 5.7L (350 CID) – Borg Warner
- MCM 320 EFI (320 HP EFI 350 CID) – Alpha One SS, Bravo One
Download a MerCruiser Repair Manual Instantly
I MerCruiser repair manual can be downloaded instantly to your computer in just seconds. This allows you to fix your engine now! The manual is in PDF format for simple download and viewing.
Once the manual is downloaded, you can quickly find the pages you need using the clickable bookmarks, print out the service procedures you need, or print the entire e-book. You can also save the manual in your downloads folder, desktop forever. You can also burn the manual to a CD and take it anywhere.
Main Chapters in This Repair Manual
This MerCruiser engine repair manual covers every aspect of repair, from troubleshooting to complete engine overhaul. Here is a list of main chapters and topics covered in this manual:
Important Information
- Important Information
- Maintenance
- Troubleshooting
Removal and Installation
- MCM Models with I Drive
- 330 (B-W) TR-TRS Dives
- MCM Models with Bravo Drive
- MCM Models with I Drive with Driveshaft Extension
- MIE Models 5.7 Ski
Engine
- V8 GM (454, 482, 540 CID Engines)
- V8 GM (305, 350 CID Engines)
Electrical System
- Ignition System
- Starting System
- Instrumentation
- Charging System
- Wiring Diagrams
- Electrical Kits
Fuel System
- MerCarb 2 Barrel
- Fuel Delivery System and Fuel Pumps
- Holley 4 Barrel (Model 4150)
- Rochester 4 Barrel
- Holley 4 Barrel (Model 4500)
- Fuel Injectors and Fuel Rails
Cooling System
- Closed Cooled Models
- Seawater Cooled Models
Exhaust System
- General Information
- Exhaust Risers
- Exhaust manifolds and Risers
- Exhaust Collectors
Drive Systems
- Hurth Transmission
- Velvet Drive and (Borg Warner) Transmission
- Drive Shaft Models and Propeller shaft
Power Steering
- Power steering


Hello, my engine cranks over but will not start. If it does start, it starts hard. Where should I start, and does the repair manual have a troubleshooting guide that will cover this?
I’d recommend downloading the repair manual, there is a great troubleshooting section and way to much to list, see page 49 in the manual. Anyway, you should first determine which engine system is responsible. For a motor to run, you need spark (ignition), fuel and compression. If you have all three, the engine should run. Simple things like moisture on ignition components, spark plug wires, coil, ignition switch, cracked distributor cap, float leaks, carburetor gaskets leaking, as wall as many other things can cause no start issue. Download the manual.
Seems lately I have poor fuel economy, not that big of an issue since gas prices going down, but I would like to fix this. Any advice would be great.
The troubleshooting section in this manual will guide you in the right direction. It’s very informative. Clogged flame arrestor, crankcase ventilation system not working, engine needs tune-up, low compression as well as many other factors can cause poor gas economy.
What are the subchapters in the troubleshooting section of the repair manual?
1. Precautions
2. Used spark plug analysis
3. Poor maneuverability
4. Poor boat performance
5. Engine cranks over but will not start or starts hard
6. Fuel system rich
7. Fuel system lean
8. Conventional ignition (no spark)
9. Thunderbolt IV HEI ignition (no spark)
10. Thunderbolt IV HEI ignition test
11. Engine will not crank over
12. Charging system not working correctly
13. Engine runs poorly at idle
14. Engine runs poorly at high RPM
15. Engine acceleration is poor
16. Radio noise
17. Troubleshooting with vacuum gauge
18. Oil pressure
19. Valve cover area
19. Camshaft area
20. Crankshaft area
21. Low oil pressure, high oil pressure
22. Water in engine
23. Excessive oil consumption
24. Engine overheats mechanical
25. Engine overheating cooling system
26. Troubleshooting EFI
27. Insufficient water flow from MC-I stern drive seawater pickup pump
28. And Much More
There is to much to list in the Troubleshooting section. But if you follow it correctly, you’ll find the problem using the manual!
How to change the drive belt on my MerCruiser?
It may depend on your model and year engine. But here is a basic overview. Download the repair manual for more in-depth information.
Drive Belt Replacement and Adjustment
1. Check the belt tension by pressing belt with thumb at center point. The drive belt should depress about a half inch (13mm).
2. If replacement or adjustment is needed, loosen the alternator brace bolts and the mounting bolts for alternator.
3. Then pivot the alternator inward and remove the dive belt.
4. Install the new drive belt. Pivot the alternator outward until correct belt tension is obtained. Apply pressure to the alternators front end frame (see manual). Then set new belts at high reading.
5. Tighten the bolts for the alternator brace and mounting bolts securely.
6. Recheck the drive belt tension.
That’s the basics. Just a warning, when adjusting the drive belt tension, you shouldn’t apply pressure to the rear end frame of the alternator.